
 Nordic
 Classic
 SunGuard
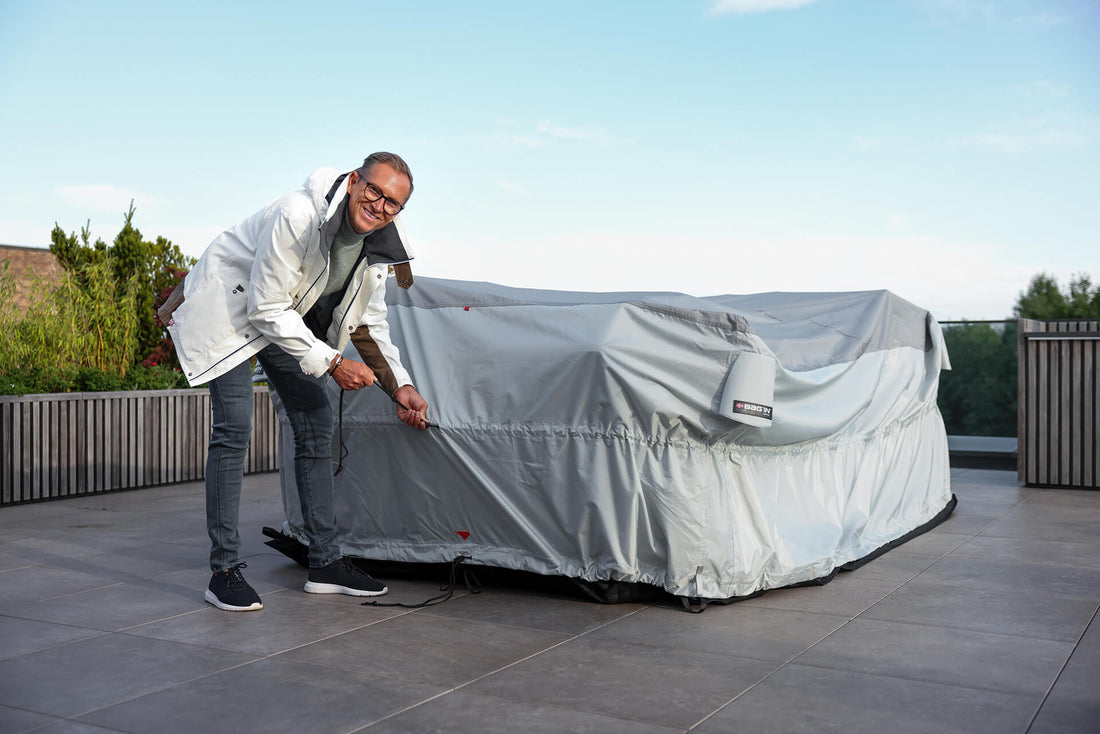
1. Choose a suitable spot
Pick a sunny, dry day so the outdoor furniture is completely dry before you pack it. Place the furniture in a suitable spot outdoors, preferably on a wooden deck or stone slabs. Avoid grass and soil, and avoid placing it directly under a roof where snow can slide off in winter.
Ready to store your outdoor furniture for winter?
We recommend a wooden deck as the base, because it lets air in under the ventilated bottom. Tiles and stone are rarely completely level, and water can collect under the bag at the lowest points. If you choose tiles or stone, make sure there is enough slope for the water to drain away, and consider placing treated boards under the bag to let air in underneath. Read more about where to place your Bag'in.
2. Lay out the Bag'in bottom first
Start by laying out the bottom section, then place the largest furniture. If you have a table top, make sure it does not lie directly on the ground. Furniture on the bottom should stand on its legs, for stability and to prevent damage.

3. Stack outdoor furniture smart and stable to maximise space
To make the most of the space, try different combinations when you stack. Start with the largest and most stable furniture as a base, then build upwards with smaller pieces. Make sure everything stands firmly so nothing tips over. Secure loose glass tops: stand them safely between the furniture so they cannot shift. Do not wrap them in a blanket, which holds moisture.
4. Build a peak so the water runs off
Stack the furniture so the highest point is in the middle. That gives the top a natural slope, and rain runs off instead of collecting on top. We also recommend clearing snow regularly in winter, especially if a lot builds up on top, so the weight of the snow does not damage the furniture inside. See also how to look after your garden furniture when the snow comes.
5. Watch out for sharp edges
It helps to be two people when you put on the top section, so it goes on correctly and neither the furniture nor the fabric is damaged. Protect sharp edges so they do not damage the Bag'in fabric. A good tip is to pull a sock over sharp table legs or similar edges. It keeps both the furniture and the cover intact.
6. Close the zip all the way round
Make sure the red arrow on the top section lines up with the red arrow on the bottom section before you connect them with the zip. To make the zip easier to close, lift the protective edge slightly. That gets the zip into place without problems.
7. Keep the vents clear
Make sure the vents in each corner hang freely and are not blocked, so enough air gets in. Also make sure the vents do not hang too low towards the ground. Fill the bag with enough outdoor furniture to keep the vents raised, so they let in enough air and prevent moisture problems.

8. Safe storage during autumn and winter
Now the furniture is packed, and it only took a few minutes. The air channels give good ventilation. The straps in the corners can be attached to our patented Storm Anchor, which holds Bag'in in place in strong wind. That is especially useful if the furniture is light. Read more in how to stop garden furniture blowing away in storms, and see the owner's guide for fitting.
9. Storage of outdoor cushions
We do not recommend storing cushions in your Bag'in, since some condensation always forms inside Bag'in in a Nordic climate.
If you still choose to leave cushions in Bag'in, we have the following advice:
- Cushions should not touch the inside of Bag'in
- Cushions should not lie directly on the bottom
- Waterproof the cushions with a suitable product
- Make sure the cushions can handle being outdoors
- Note that the Bag'in warranty does not cover what you store in the bag, meaning furniture, cushions, rugs and other items.
Bag'in garden furniture covers: protection for all your outdoor furniture
How to Get the Cover Back in the Storage Bags
Share: